I hope everyone had a great Tuesday. I am going to show everyone a step by step on how I refinished my daughters dresser. I came across a dresser for sale for $20 on facebook one day. I went to pick it up and the guy was so embarrassed that his wife wanted money for it that he gave it to me for free. I was shocked but super excited.

Here is the before picture. Its solid wood but it was ugly to start with. It also had dog bites on the one bottom corner.
I liked the size but that was about it. So I started with trim I picked up at Home Depot. I put a small detailed trim around the top just under the top piece of wood. I also popped off the bottom boards and put new trim on that so it didn't have an opening for toys to get lost. I did have to learn how to use a mitre saw but It was actually very easy. I started with just using wood glue to attach the trim boards but my husband said that was not the "proper" way to build furniture so he taught me how to use the nail gun. I puttied over the holes and lightly sanded. Sounds much harder than it actually was. Trust me.

I then added decorative trim to the drawer fronts because they were very boring and I wanted detail.

The dresser had a musty old smell to it so I put a coat of Kilz on the entire thing to cover the smell. Then I started with the painting. Here are the colors I chose. I bought Behr paint in a satin finish.

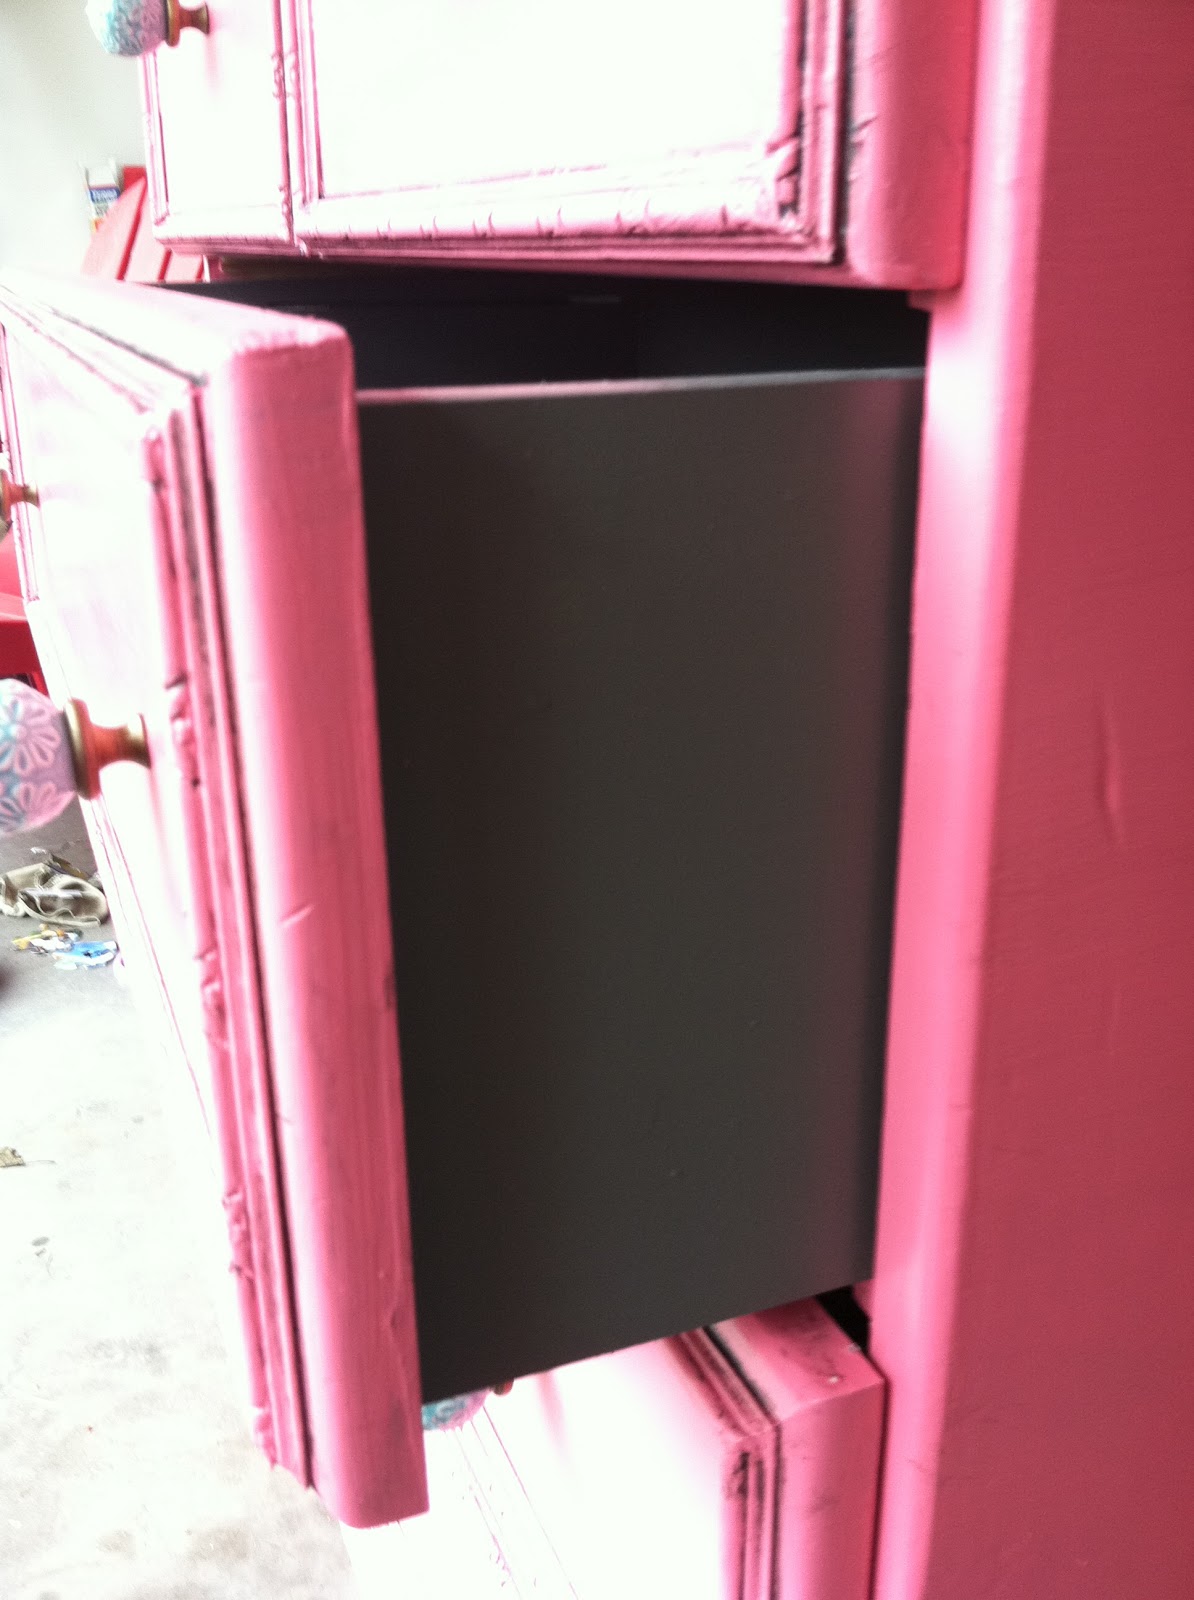
I ended up using 3 coats to get a good even coverage. I painted the dresser and the drawer fronts pink and for added kick I painted the inside parts of the drawers grey. Now also I needed a 3rd coat because I kept coming back to my project and finding hand prints and designs in my semi dry paint.

I found some really cute black and pink fabric at JoAnns so I covered the inside bottoms of the drawers with it. i just used spray adhesive and a knife. I glued it down then just trimmed the edges.

After the painting was completely finished and dried I glazed all the edges. I used the same technique as the desk. I brushed it on then wiped it off with a damp cloth. This time though I mixed the glaze with black paint so it had a darker look. I did all the corners and cracks. I forgot to take a picture of this step so I only have the after shots. Sorry. Still getting used to this blogging.


After some convincing from my husband I did put one coat of sealant on the dresser as well to protect it. Moving as much as we do is really hard on your furniture. I am really glad I did put the sealer on it. It gave it a smooth texture.
Now, I hated the knobs that came with the dresser and I just could not find anything I liked at the stores that was worth the money. So I spent hours online looking for the perfect knobs. I love the ones from anthropology but again they were a bit expensive. I did however find a set of anthropology knobs on ebay at a great price. They are perfect and I love them so much!

So here is the finished product. I truly love this dresser!


Happy Tuesday!
Alyse and Kristen
You are so inspiring, and creative. I'm looking at the dresser I got for $15 on Saturday in whole new ways. Thanks for posting.
ReplyDelete