So Kristen had been wanting a larger piece of furniture to serve as a buffet in her formal room. She wanted something inexpensive and I wanted her to get something I could refinish. She has more room in her house than I do so I go there to do most of our projects. Anyway, her husband came home one day with this ugly duckling in the back of his truck.

Now it was solid wood and sturdy but very dated and the top was water stained and pretty scratched. It also was the wrong look all together. I couldn' wait to get my hands on it. The first day we started on it I was coming down with a cold but I had to go.
We came up with a final plan to stain the top of the desk a really dark color then paint and distress the bottom a light color. We started with removing all the doors and hinges. Then we had to sand down the top part all the way to the bare wood. We used a power sander and took turns as our hands were pretty numb. We also sanded the rest of it by hand just enough to rough up the surface a bit. It started to look like the picture below.

Now after all the sanding was done we vacuumed up all the dust and wiped down the desk. We then applied the first coat of stain to the top. We used Minwax Polyshades in Espresso satin. It does not require a sealer over it so its one coat, a light sand, a second coat and done. It is very dark but its what we were wanting. Clearly I am not a clean painter....

We waited a couple days before starting on the bottom part of the desk. I picked up some Behr paint in an antique white color and put 2 coats of paint on the desk, doors, and shelves.

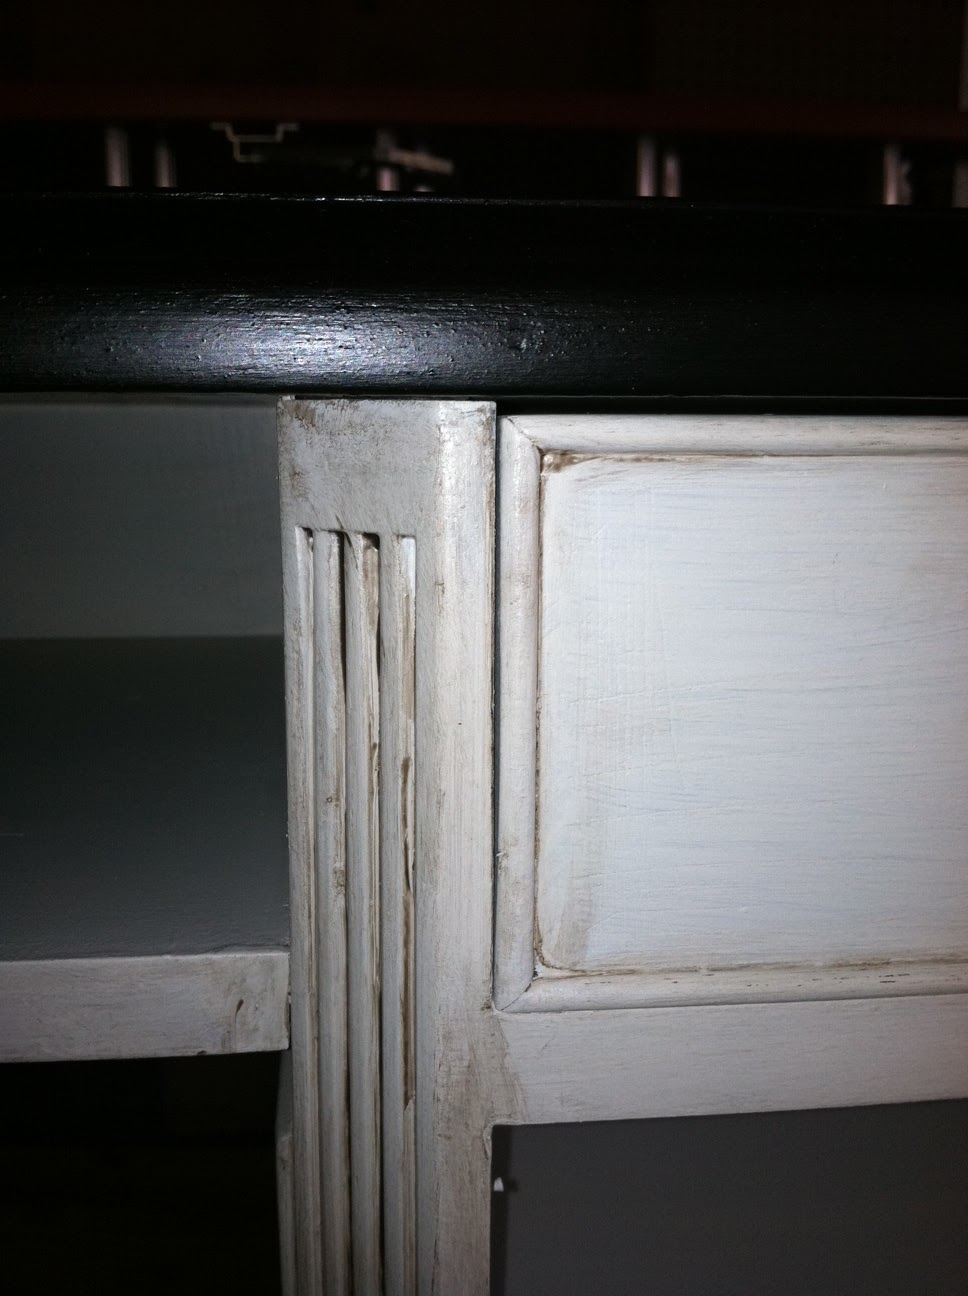
While that was all drying we spray painted the original hardware an oil rubbed bronze color. This is by far our favorite color of spray paint. I get excited when I have something to paint that color. Then, we needed to start the distressing. I had been hearing a lot of things about how awesome glaze was so we decided to try it out. I bought a quart of clear glaze and a tiny sample can of a chocolate brown paint. We mixed it according to the glaze directions and with a foam brush I applied section but section to all the corners and little nooks.

After you brush on a section you use a damp towel and wipe off. This will leave the dark color in all the tight spaces. You will get this effect....
After everything was dry we put the shelves and doors back on and had Kristen's husband move it into the house. Here is the final look. We are very pleased with the end results.


It goes perfectly with the rest of her furniture and it is no longer an ugly duckling. The only thing we had to pay for was the paint and stain but we have enough stain and glaze to do a million other projects. This really was an inexpensive project and a lot of fun.
Have a good Tuesday everyone. If you enjoyed this post please share or pin it.
Alyse and Kristen
No comments:
Post a Comment